
A website’s headers and footers are essential elements. In most cases, the Header provides navigation links that simplify navigating to different portions of a website. On the other hand, the footer contains vital information that website visitors may require, such as a business address or contact information, to mention a few examples.
Headers and footers are provided by a user’s current theme on WordPress. These are usually well-designed and adequate for the majority of their uses. However, if you want to customize your themes, you’ll have to change the code; This is when Page Builder plugins come in handy. You can use them to create and change webpage components without knowing any code.
This tutorial will teach us how to make a website header and footer. Elementor Pro will be used (since the basic version of Elementor does not include the features most important for creating these components). So download Elementor Pro and make sure it’s turned on.
- Why should you choose Elementor as your page builder?
- Elementor allows you to choose the main layout of your custom header and footer.
- What Is a Header and What Does It Do?
- What Is a Footer, Exactly?
- How to Make a Header
- Developing a Header Template
- Making Changes to the Header Menu
- Header Publication
- How to Make a Footer
- Developing a Footer Template
- Footer Modifications
- Finished Product
- Examine your header and footer sections for responsiveness.
- Bringing things to a close
Why should you choose Elementor as your page builder?
Elementor is the most advanced page builder, allowing users to employ premium elements to create gorgeous designs and layouts. It is very beneficial for novices who have no prior knowledge of coding. The drag ‘n’ drop editor in Elementor allows users to move widgets and items around.
Elementor is a visual page builder that allows users to see how their pages appear without switching modes.
Another compelling argument for using Elementor is that most work can be completed without cost. Their free edition is more than capable of providing adequate site editing capabilities. However, we’ll go over both the free and paid versions so that you may pick the best suits your needs.
The following are some of the important aspects of Elementor that make it worthwhile:
- Drag and drop functionality is supported.
- It has a large number of templates.
- There are over 90 widgets in all.
- No coding is required for responsive support.
- Redo and undo options are available.
- Autosave is available.
Elementor allows you to choose the main layout of your custom header and footer.
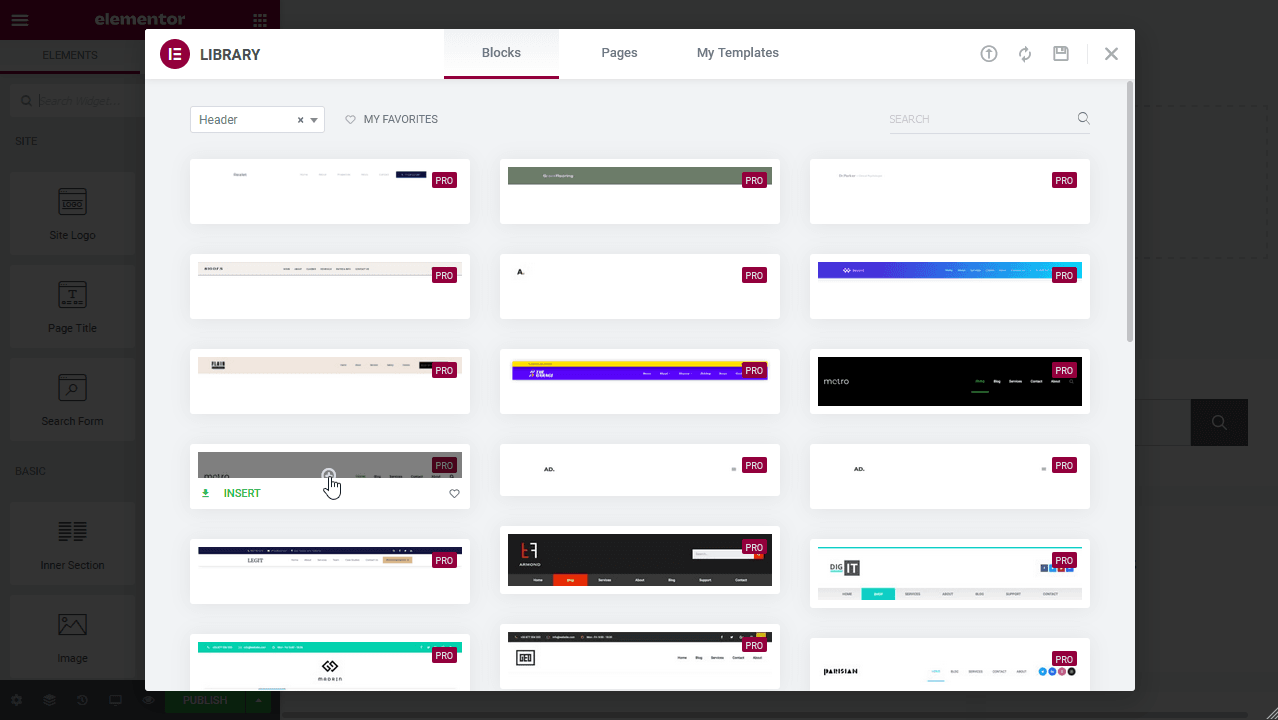
It would help if you decided on the general arrangement of your desired header and footer sections before developing a unique header. Looking at the pre-made header section layout might provide you with many choices.
You can choose from various header sections; the most common and modern-looking Header features a site logo in the leftmost corner, a navigation bar in the middle, and a search bar section on the right.
There are endless possibilities, and you can construct any layout you want.
I chose the No. 7 pre-made header template; This is the most common and simple approach to using a header on a WordPress website. Copy and paste the header template name into Templates > Header > search template > paste the copied header name.
When you’ve found the header template you want, select “Edit with Elementor”, and you’ll be taken to the Elementor Pro header builder section.
Let’s get this party started.
What Is a Header and What Does It Do?
The top portion of your webpage is called a “website header.” The Header is usually the same across your entire website. However, some websites use different headers for different portions of the site.
Your header design will give your users their first impression of your website, whether they’ve arrived at your homepage, about page, or other individual content. And, if it’s well-designed, it’ll grab the user’s attention and entice them to keep scrolling and reading.
The Header can also aid in the promotion of your company’s brand identity.
I am using features such as the company’s logo, font, colours, and overall brand language.
Site navigation, site search, a shopping cart (for sales sites), call to action (CTA) buttons, and other features that improve the user experience and raise conversion rates are all found in headers.
What Is a Footer, Exactly?
A footer is a section of a webpage that appears at the bottom of the page. They are usually displayed constantly throughout the website, on all pages and posts, similar to headers.
Footers are frequently overlooked, which is a waste of potential, given that they appear on every page of the site. They’re equally crucial to the headers.
Your footer design can display helpful and vital information such as newsletter registration, copyright information, terms of use and privacy, a sitemap, contact information, maps, website navigation, and much more, depending on the settings you pick.
How to Make a Header
We’re going to create a customized header in this section. Don’t worry if that seems intimidating; we won’t start from scratch. Instead, we’ll use Elementór Pro’s templates, designed by Elementor’s design team.
Developing a Header Template
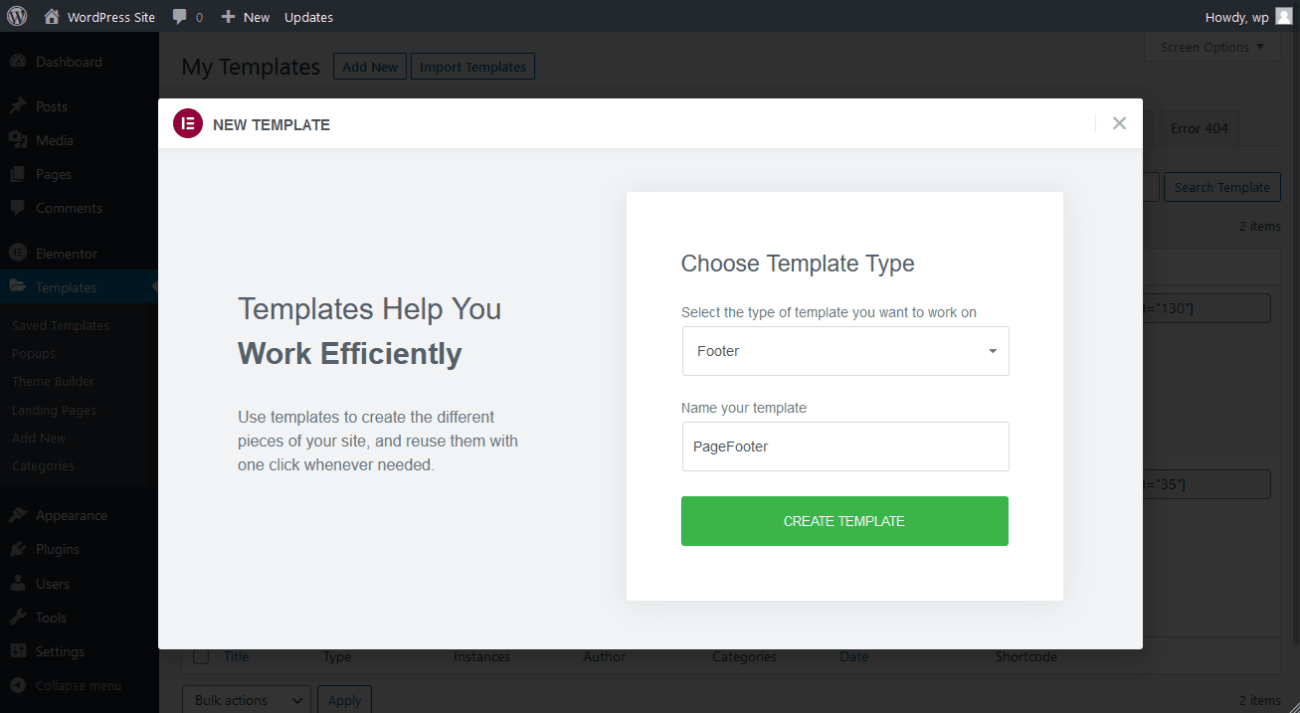
On the WordPress admin panel, hover over Templates and click Add New to construct our Header.
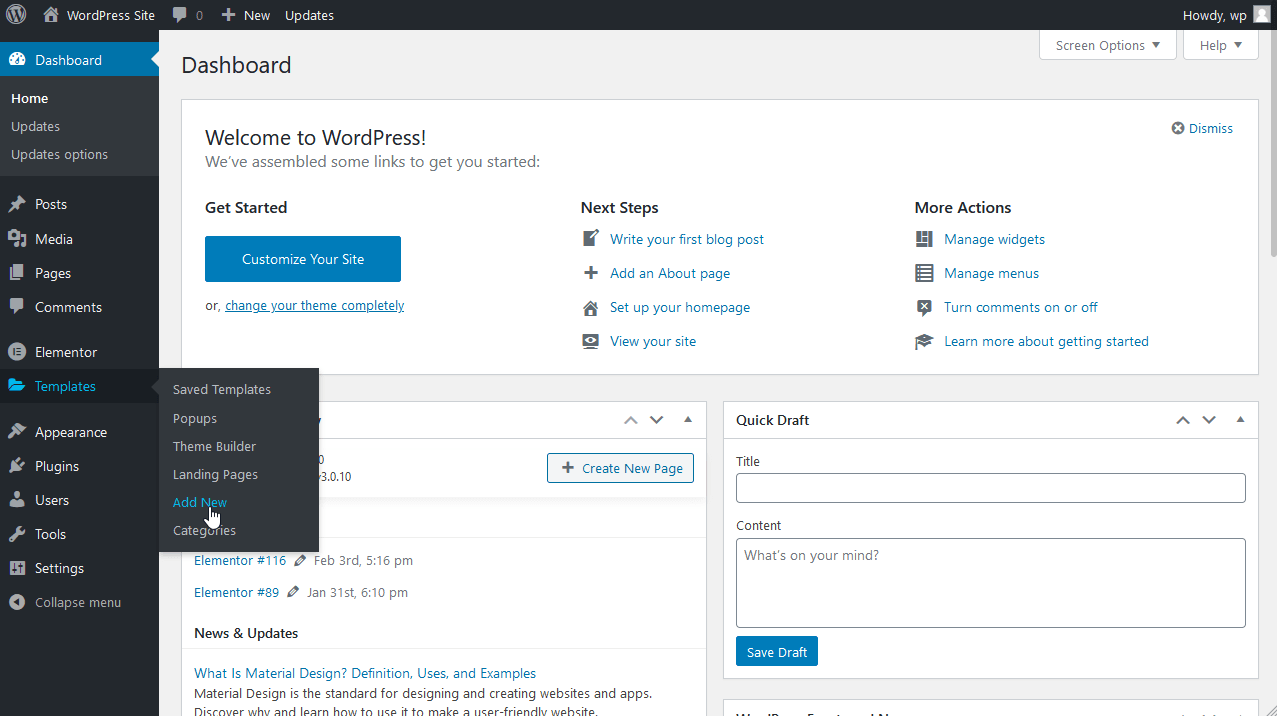
A modal window will pop up once you’ve been routed. Select Header from the dropdown menu, name the Header, and click “Create Template“:
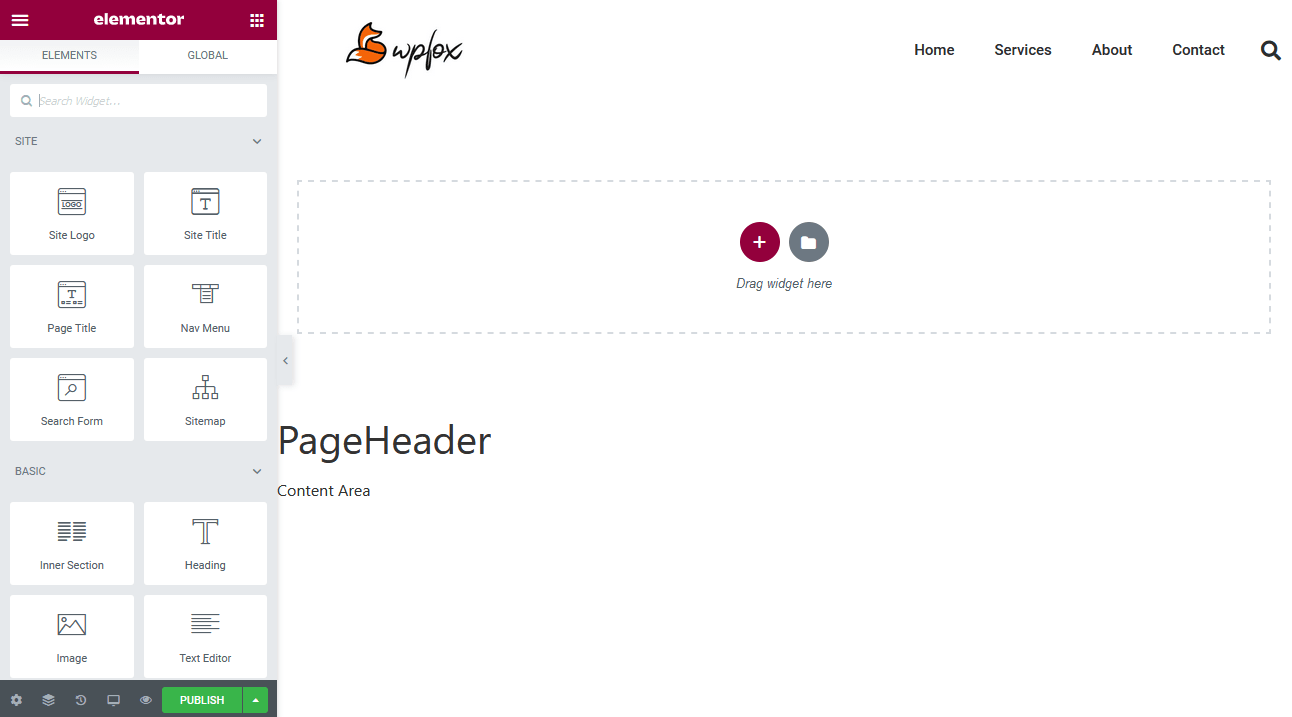
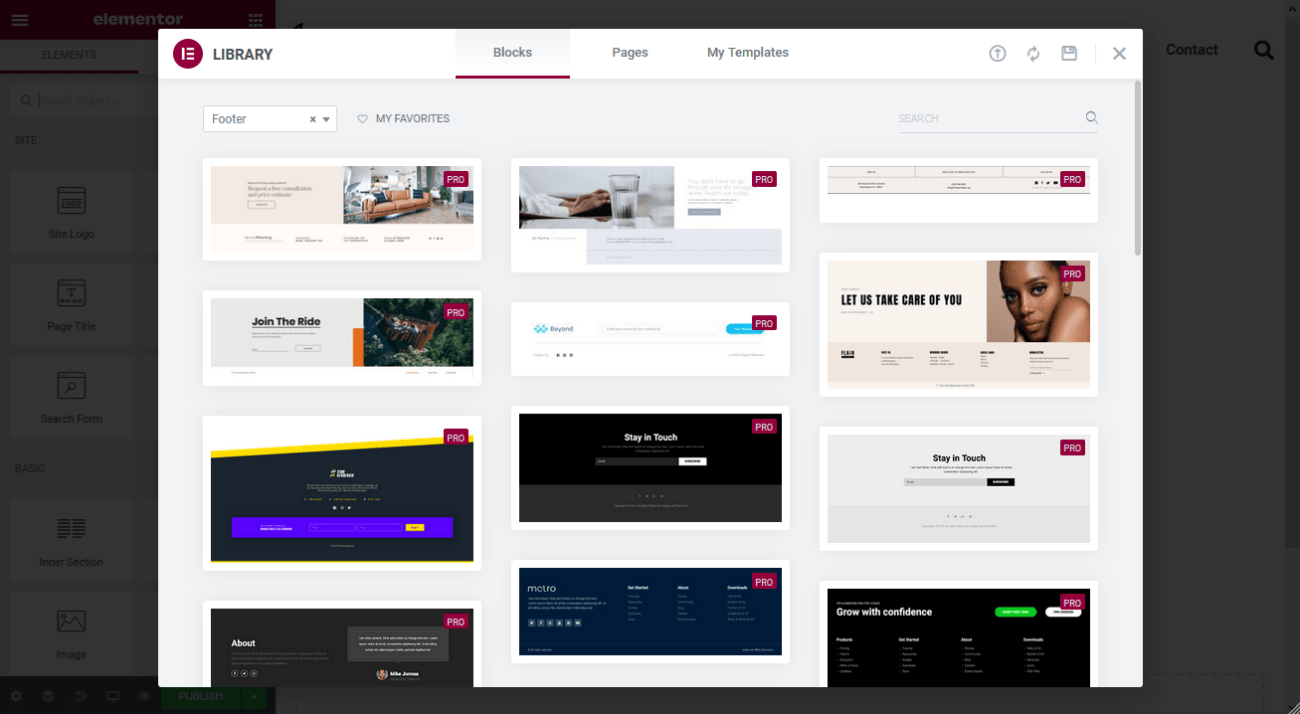
This will launch the Elementor editor. After that, you’ll be presented with a list of templates from which to choose. So pick one that appeals to you:
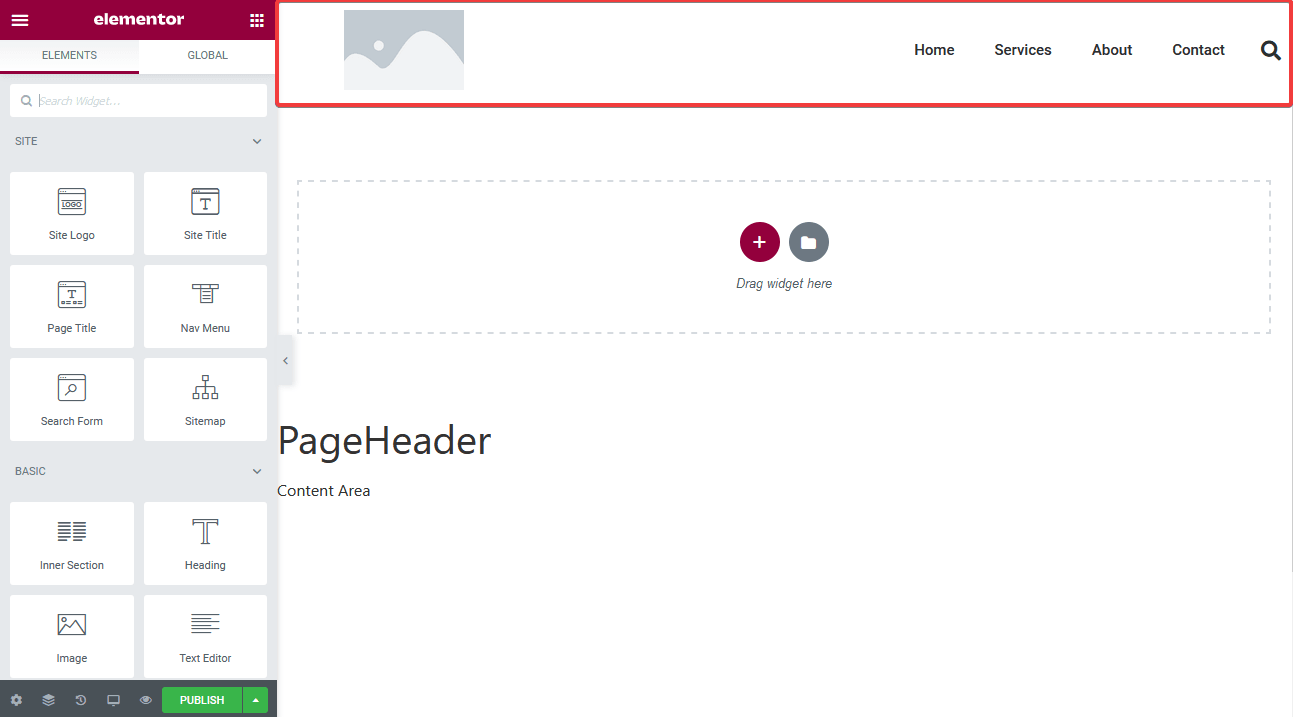
It should show up on top of the Elementor editing section once you’ve picked a template:
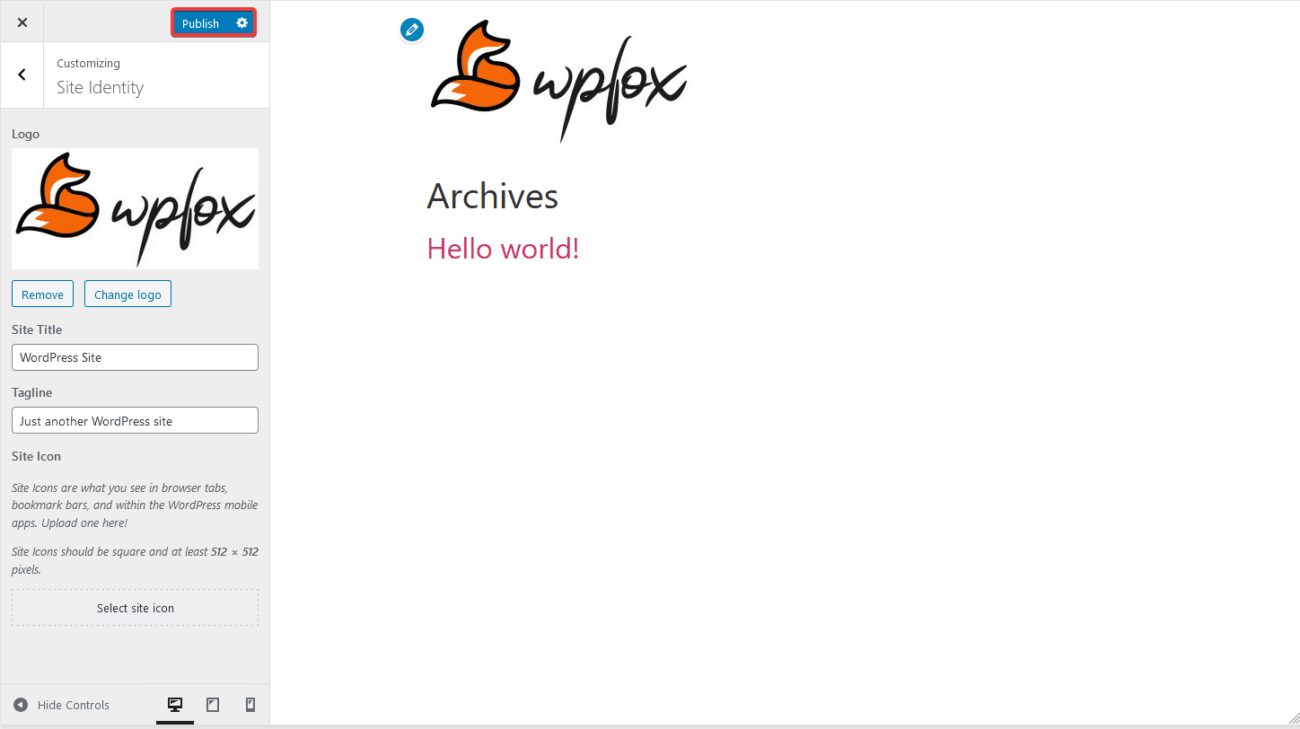
Creating a Logo: The first step is to create a logo. Set the logo in the site’s Live Editor to put it in the Header. Choose a logo by clicking on Site Identity.
Once you’ve decided on a logo, click Publish.
Your site’s logo should now be in the Header if you refresh the Elementor interface:
After that, you can make any changes you want.
Making Changes to the Header Menu
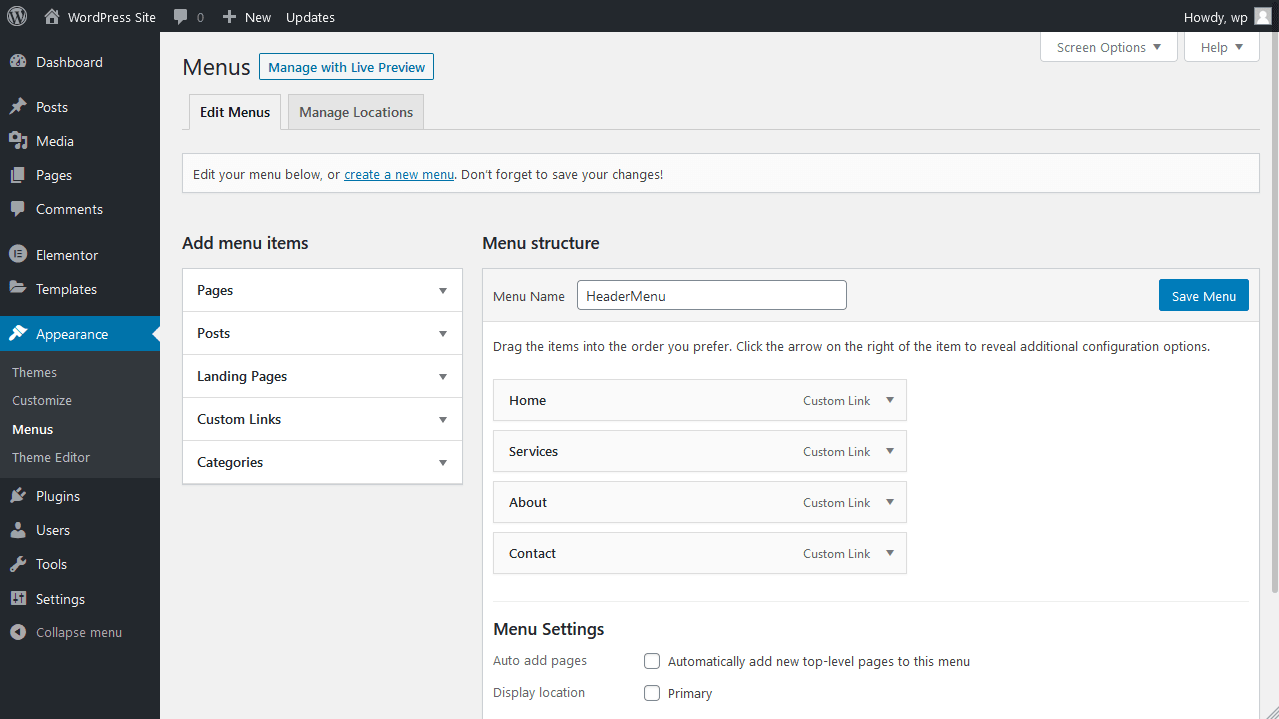
The next thing we should do is change the menu. If you’ve generated a menu, the template will automatically incorporate it:

Here’s our menu structure, which you can see reflected in the header template:
If you have more than one menu, you can update the contents if necessary.
You may edit its properties just like any other widget.

If we need to add more items, we can add more sections to our Header:

Let’s start by adding a header and some social media icons:
After that, you can make any changes you like. Here’s how our edit turned out:

Header Publication
You can now publish the Header once you’ve finished altering it. We’ll use the Header on our entire site in the example below, so we’ll select that choice after selecting Add Condition:
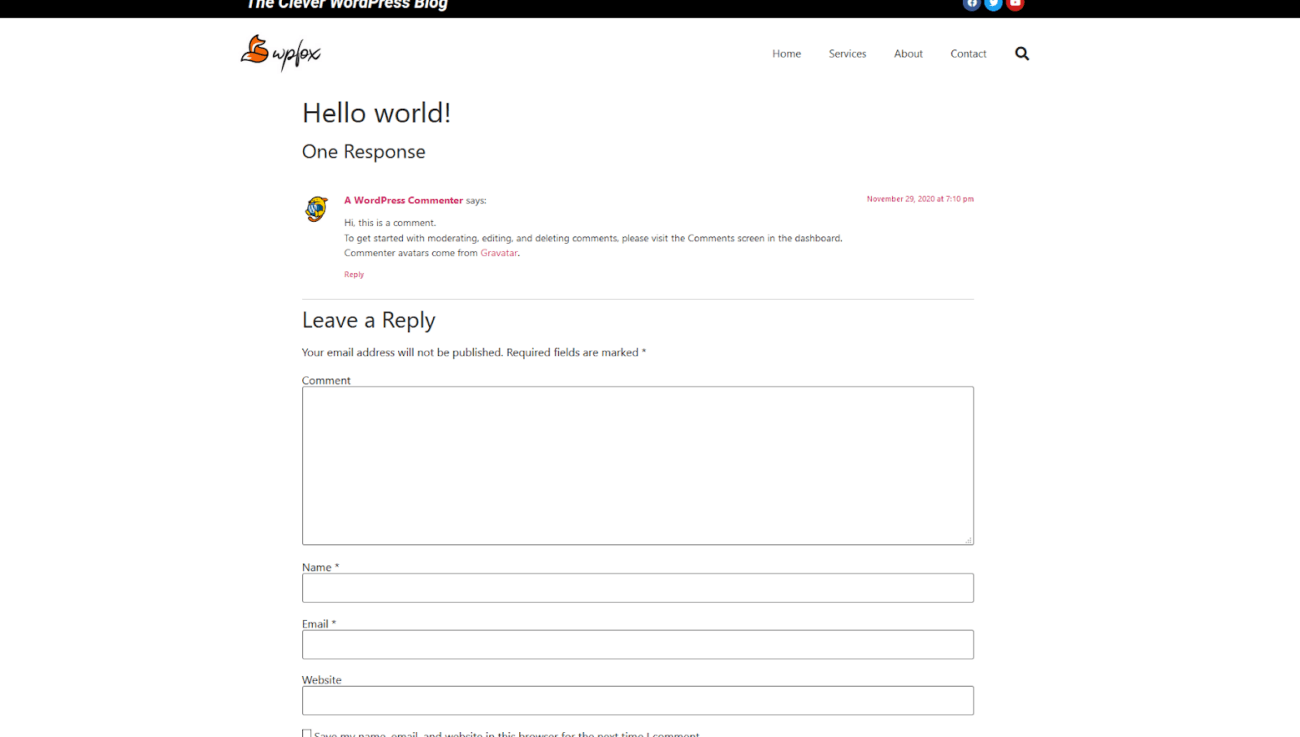
And here’s an example of a page from our live site:
How to Make a Footer
Developing a Footer Template
The process of making a footer is fairly similar to that of constructing a header. To make one, create a new footer template like this:
Then decide on a template. Footers come in a variety of shapes and sizes. Some include firm information, while others have contact forms. Select a template that is appropriate for your requirements.
The template we chose for our website is as follows:
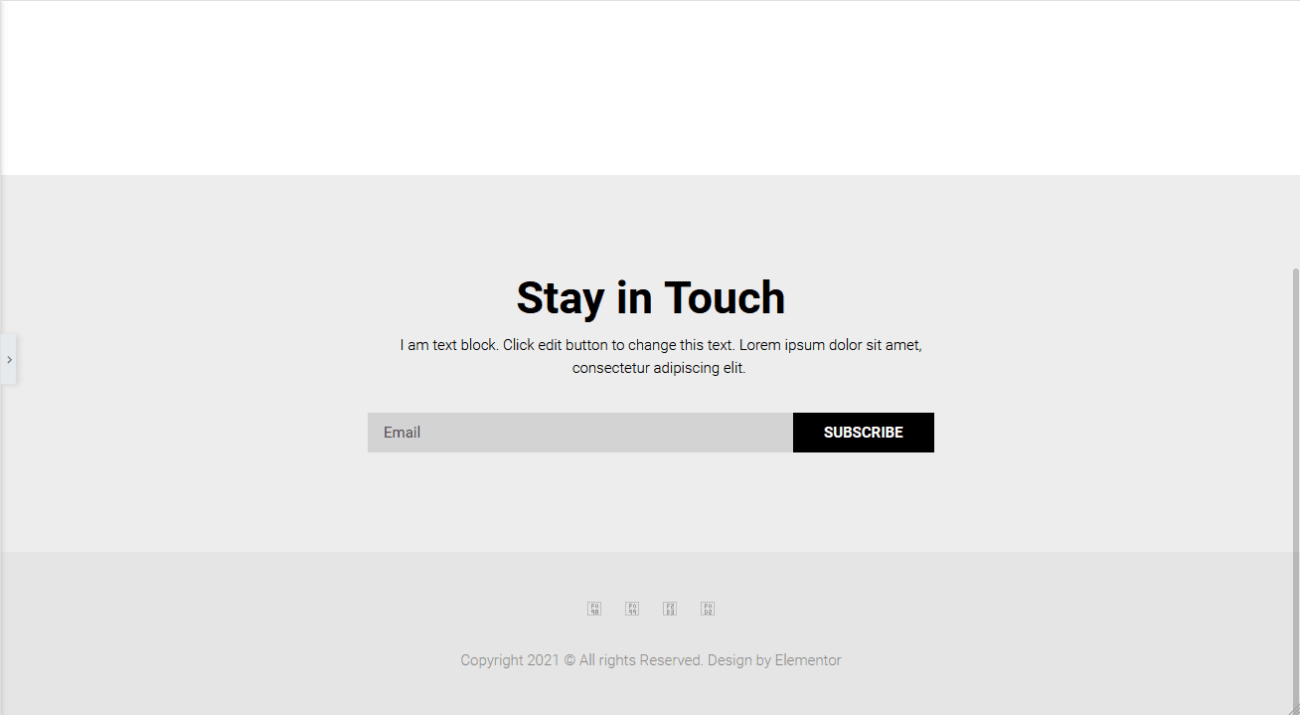
Footer Modifications
You’ll see the Header as soon as you start editing (if you set the condition that it appears on all pages).
Change the footer as needed; This is how our revision looks:
Publish the footer after it’s finished:
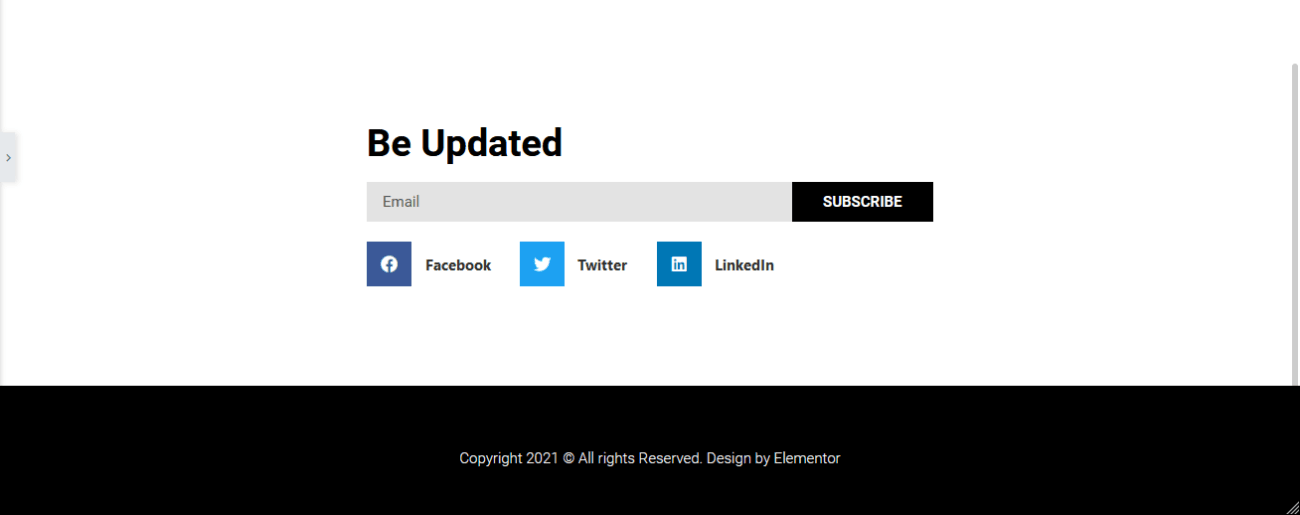
Finished Product
Here’s how the finished result looks. Both the Header and the footer are now used on our website:
Examine your header and footer sections for responsiveness.
This is the most important phase, and you must ensure that your header and footer sections are responsive. Because a full-width menu does not usually suit the mobile view, you must know how your design will appear on the mobile screen. The responsive switches at the bottom of the Elementor sidebar section can change the mobile and tab versions.
You may test the responsiveness of your Header and footer in various ways. For example, you can use tools like Browserstack, CrossBrowser Testing, and Google Resizer to ensure that your webpages are as responsive as possible. You can also do it manually by experimenting with different devices.
Bringing things to a close
I hope this guide assisted you in rapidly developing your unique header and footer sections using Elementor Pro. WordPress has many features, but it only allows for a few modifications in the header and footer sections, finally fixed with the Elementor Pro page builder. With far better control over your site elements, you can now better demonstrate your site’s vision. Furthermore, Elementor’s functionality has been improved by using free addons, allowing users to customize their websites with more advanced capabilities.


