
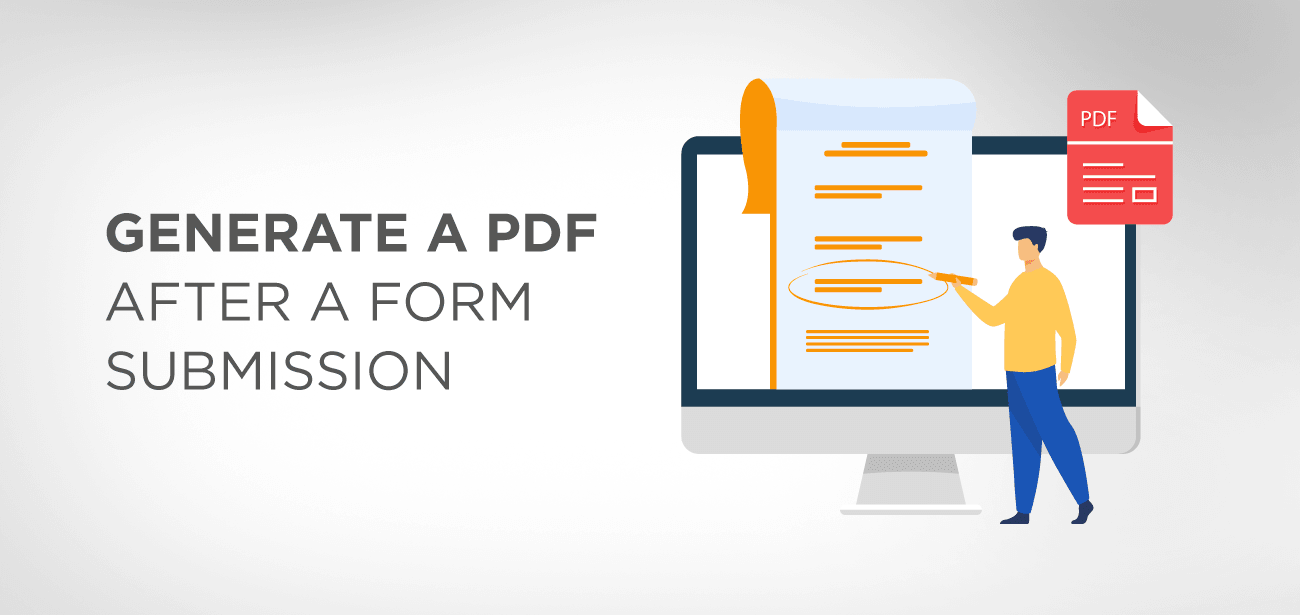
With the help of elegant tools and plugins, you can generate professional PDFs, based on web form data, within no time. If you create a new PDF DOCUMENT with the help of these plugins, the PDF EDITOR will extract and populate it with the same information, in pairs, that is found in your web form.
With automatic PDF form generation, you can save a lot of resources and energies which can be used somewhere else, such as business growth.
You can use these PDFs as a data-sharing technique among your colleagues and customers.
- What are Web Forms?
- Add submit functionality
- Submit Form Selections other options
- FDF
- HTML
- XFDF
- PDF- The Complete Document
- All Fields
- Only These
- Convert Date To Standard Format
- Add a Reset Form button
- Add an Import Data button
- CGI export values
What are Web Forms?
PDF forms are an efficient way of collecting valuable information from web forms. With just a few steps, you can generate PDFs forms. These steps do not involve any rocket science, but only a few actions that perform HTML scripting macros like function. For obtaining valuable information from web forms, you need a Common Gateway Interface (CGI) application on the webserver so that you can route the data to a database. You can use any CGI application that extracts information from forms (in HTML, FDF, or XML format).
Before moving any further, make sure that your forms are web-ready i-e your form-field names match with those sets in the CGI application.
Note: The creation of CGI scripts is not covered under Adobe Acrobat, so the scripts must be built outside Acrobat.
Add submit functionality
With the help of ‘Submit A Form’ action, you can route form data to a specified email address. The data can also be sent to a web server by specifying its URL. The submit button can be used to send other files to a server or database. For example, if the form contains pictures or images, these can also be routed. These files are sent along with the rest of the form information upon clicking the Submit button.
If you are using an email-based submit button for PDF generation, you can use the Distribute workflow for enabling the distribution of form to others.
- Choose Tools > Prepare Form, from toolbarselect OK Button, and create a button.
- Next, you need to set properties as per your requirements. Open the Button properties dialogue box by double-clicking on the button.
- Click on the Actions tab> from Select Trigger menu select Mouse Up.
- From Select Action menu, select Submit A Form, and click Add.
- In the Submit Form Selections dialogue box, provide a link in Enter A URL For This Link:
- If you want to send the form data to a web server, provide the URL where you want to rote the information.
- If you want to send the form information to an email address, then provide your email address next to mailto: e.g mailto:[email protected].
- Once you have specified the destination, you can make other changes to the available options as per your preference, and then click OK to close the dialogue box.
Details about other available options are given in the next section.
- From the other tabs in the Button Properties dialogue box, set values as per your preference and then click Close.
Submit Form Selections other options
FDF
This option helps you export the web form information as an FDF file. From this section, you can select as many available options as you like. The options can be comments, user-entered data, and incremental changes to the PDF file.
With the Incremental Changes To The PDF option, you can export a digital signature in a way that server reads and rewrites easily.
If you want to generate an FDF or XFDF format file, then you must add #FDF at the end of server’s URL. For example, http://myserver/cgi-bin/myscript#FDF.
HTML
This option helps you export the form data as an HTML file.
XFDF
If you want to export the data of web form as an XML file, you can select this option. With this option, you can select to export the form fields data, comments, or both. Again, you have to add the suffix #XFDF at the end of server’s URL (as discussed in FDF section).
PDF- The Complete Document
With this option, you can export the complete web form data as a PDF file. The PDF option creates a larger file than the FDF option; however, it is useful for storing digital signatures.
Those users who use Adobe Reader for filling in the PDF form must choose either FDF or XFDF for the Export Format option.
All Fields
If you want to export all form fields, even the blank fields, then you can use this option.
Only These
You can select a few fields for exporting web form data. This option allows extracting information from your specified fields.
Click on Select Fields, and indicate those form fields that you wish to extract- whether those are empty fields or fields with values.
Convert Date To Standard Format
With this option, you can export all form dates in a single format. It does not matter how they are entered in the form.
Add a Reset Form button
The reset form button clears any data that existed in the form. With this one button, you can wipe off the existing information, and clean the form like a blank slate.
It is just like the Clear Form feature found in Tools > Prepare Form > More > Clear Form feature. This option is enabled only when you create acrobat forms or edit them.
Nonetheless, you can improvise and customize your reset button, so that it erases data from only specific fields. You can do this by:
- Choose Tools > Prepare Form, select Button OK in the toolbar > create a button.
- When you double-click the button, you can see the Button Properties dialogue box.
- Click the Actions tab > from Select Trigger menu select Mouse Up.
- From Select Action menu, Select Reset A Form, and then click Add.
- In the Reset A Form dialog box, perform one of the following functions and then click OK:
- Select specific fields: Check those individual checkboxes for selecting or de-selecting the fields that you wish should be wiped off with a reset button.
- Select All: if you want to reset all the values, then you can select this.
- You can see Reset A Form option, in the Actions tab, within the Mouse Up action.
- You can change the other properties by clicking another tab in the Button Properties dialog box. Or, if you don’t wish to change any more properties, you can click Close.
Add an Import Data button
Common fields in forms can be filled by enabling users to use the Import Form Data action. These common fields are name, email address, etc.
With the Import Data option, users can also populate these common form fields with their profile information. This will update only those form fields match with the available information. Those fields which do not match will be ignored.
Tip: You must first set up a form with common data fields from where you can import data and then perform the import data action.
The Import Form Data action searches the source file from which it has to import data, in more locations in Windows OS than on Mac OS.
In Windows, the Import Form Data action looks into Acrobat or Acrobat Reader folder, My Documents\Adobe\Acrobat, the System folder, the current folder, the Windows folder, and those folders which are in the PATH statement.
Whereas, on Mac OS, it will only search in the Acrobat or Acrobat Reader folder and the System Preferences folder.
For settings of Import action, follow the following path:
- Choose Tools > Prepare Form, select Button OK in the toolbar> Create a button.
- Now, double-click the button and open the Button Properties dialog box.
- Click Actions tab > from Select Trigger menu select Mouse Up
- Select Action menu > Select Import Form Data > click Add.
- Next, locate and select an FDF file, and click Open.
- You can continue to define other properties from the Button Properties dialog box if you want to specify the properties of your choice. Otherwise, you can close it.
CGI export values
CGI application uses the export value for the identification of user-selected form field. An export value must be defined only if both of the following conditions are met:
The data is collected electronically in a database. The data is different from the item designated by the form field, or the form field is a radio button.


