

A header is generally the first thing a person sees when they visit your website, and it serves as the foundation for how they explore it.
Whether you have an eCommerce website, a personal website, a website for education, a community forum, or a website for the media, the header is what makes it simple to browse and enjoyable to use.
Sticky headers are becoming increasingly popular among web designers to organize and structure a website for improved user navigation.
We’ll show you how to make your sticky header using Elementor in this tutorial.
Sticky headers allow users to view the page’s header and menu section regardless of how far down they scroll.
- Step 1: to Make a Menu
- Step 2: Creating Your Header in Elementor
- Step 3: Using Elementor to make a header template
- STEP 4: How to Make Your Elementor Header Sticky
- Step 5: customize our CSS
- Conclusion
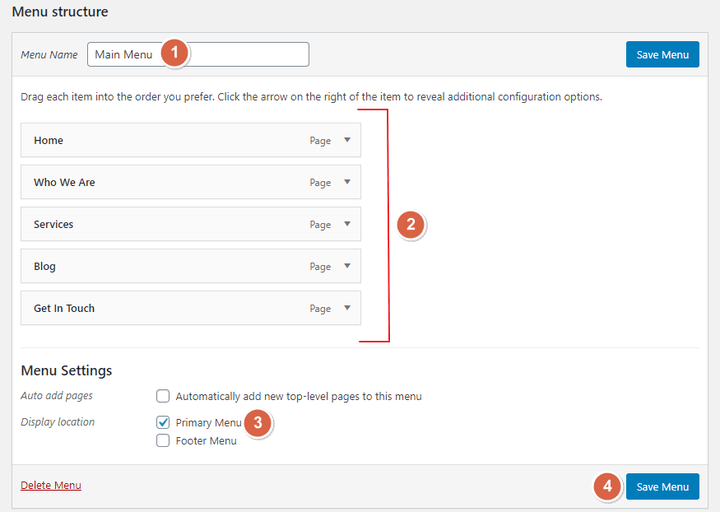
Step 1: to Make a Menu
To add a sticky header to your website, go to wp-admin > Appearance > Menus and create a Main Menu. In the header, type the section you want to display.
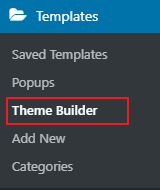
Step 2: Creating Your Header in Elementor
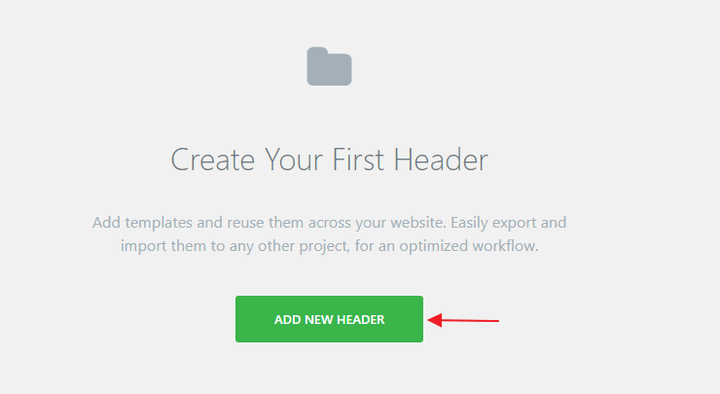
Go to Elementor Templates > Theme Builder when you’ve finished constructing the main menu. Select the Header area on the theme builder page and click “Add New Header.”
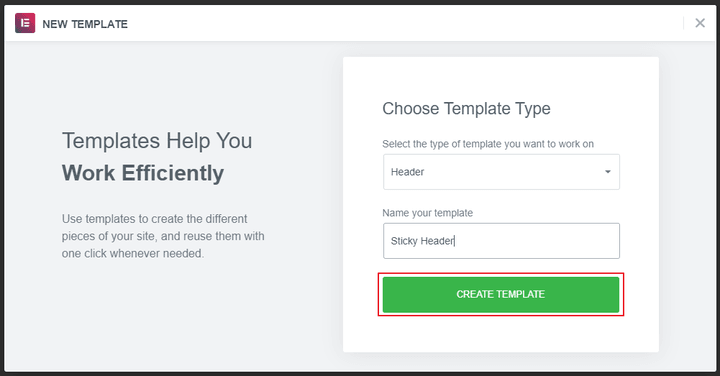
Give the header template a name and click “Create Template” on the pop-up screen.
You’ll be taken to the Elementor editing page after that. You can either use one of the pre-made header templates or design your own from scratch.
We’ll be starting from scratch with our Elementor sticky header in this tutorial.
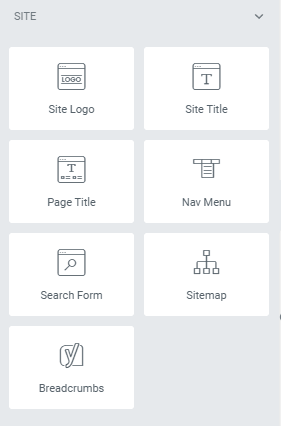
You can see various header widgets in the Elementor editor before we start designing a template. We can quickly and easily design a header using these sections.
Step 3: Using Elementor to make a header template
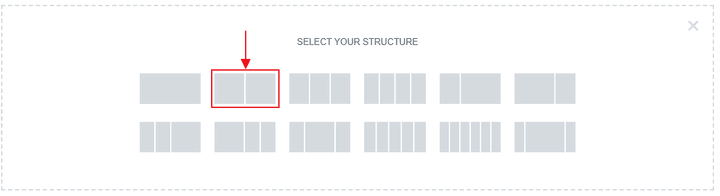
Create a two-column layout. Make sure the section’s content width is set to “Boxed.”
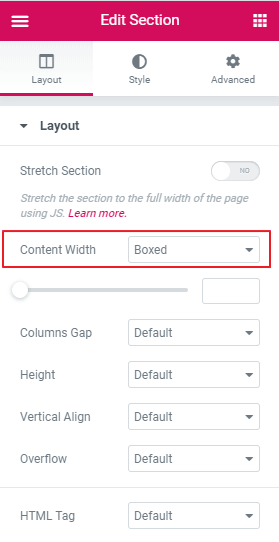
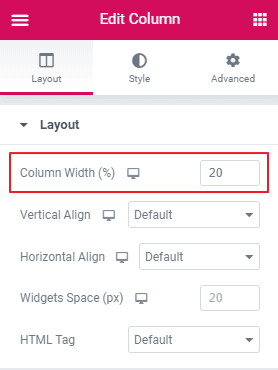
In the Content width settings in Elementor Edit Section, Set the first column width to 20% under the “Edit” Column.
Place your website’s Site Logo in the first column and align it to the left.

Add a Nav Menu in the second column and select the main menu you built in step 1. Align the navigation menu to the right.

We’re going to keep the header simple for this tutorial. You may make your header more detailed by adding a background color, hovering animation effects, buttons, and other elements.
STEP 4: How to Make Your Elementor Header Sticky
Now that we’ve created our basic Elementor header, it’s time to turn it into a Sticky header.
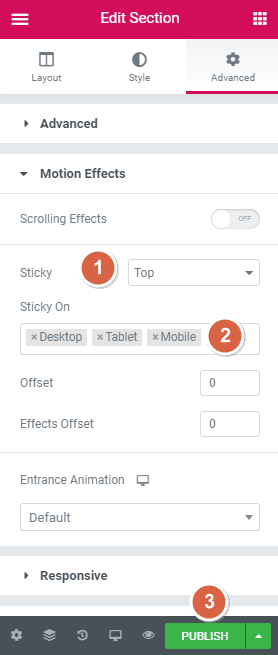
To do so, go to the Edit section (Whole header section). Select Advanced > Motion Effects from the drop-down menu.

Select “sticky to the Top” under motion effects, then “devices” where you want the sticky header to appear.
A sticky header is almost always undesirable on tablet-sized devices, and it is almost always undesirable on mobile screens as well. As a result, click the “x” next to both options under Sticky On, leaving only “Desktop” selected.
When you’re satisfied with your work, click “Publish“; this will activate the sticky header, but it will not replace your current theme header at this time.
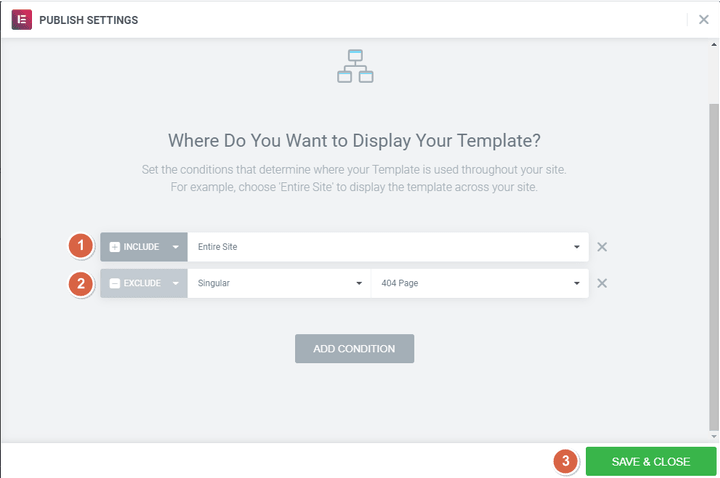
Elementor prompts you to Add a Condition for your header after you’ve published it. You may show the header wherever you want on the site by adding conditions.
We wanted this header to appear over the entire site, omitting the 404 Page. As a result, we included the entire site in the choice while leaving out the 404 Page.
As you can see, using Elementor to create your personalized Sticky header is simple and painless!
Make Your Elementor Sticky Header Look a Lot Better Using Custom CSS Elementor allows you to customize a sticky header by adding a CSS class to make it more stylish.
You may customize the sticky header’s height, background color, transition, and sticky effects here.
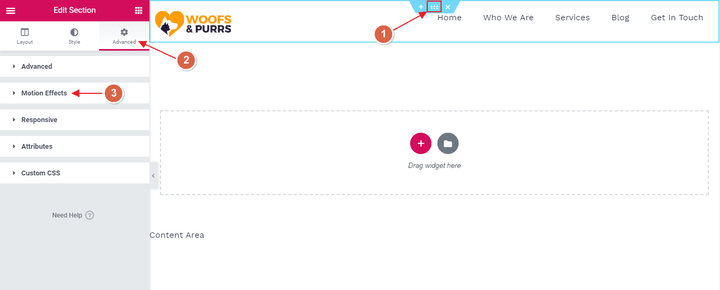
Return to the Edit area to make your sticky header more stylish (Whole header section). Select Advanced > Motion Effects from the drop-down menu.
Set the “Effects Offset” to 100 in this case. When a visitor uses your website, this is the scrolling distance where the scrolling effect happens.
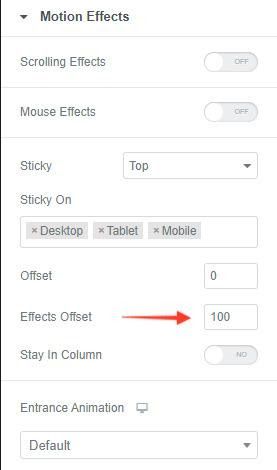
Set the motion offset to 100.
Please keep in mind that the Offset Effects options will only work if Custom CSS is used. Consequently, if you are not adding any custom CSS of your own, you can skip the last option.
Before publishing the final sticky header, you can optionally add conditions to the last sticky header. An example of a sticky header condition is where you want the sticky header to be shown. As an example, you may choose the criteria “entire site.”
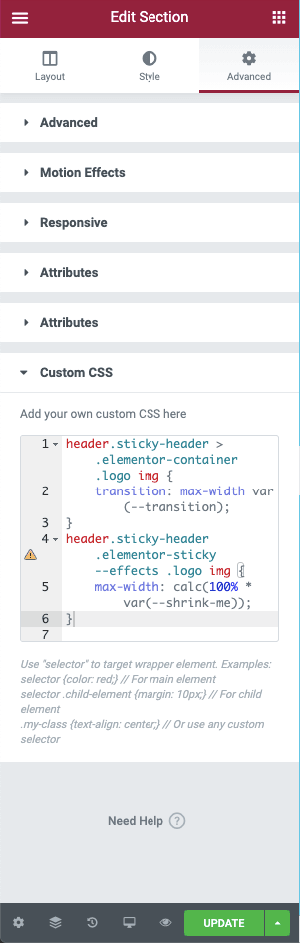
You’ll now want to include some Custom CSS on your website. Custom CSS is quite flexible, and you can include whatever you want if you are familiar with its operation.
We have completed the cleaning; we now move to the intricacies of the website, including the addition of the custom CSS code. We will demonstrate both the fundamentals and advanced techniques for obtaining free sticky header effects for Elementor. If you are using Elementor 2.9 or higher, you may use the Global Style Rules to incorporate this CSS into your site.
Follow the procedures outlined below to include the custom CSS:
- To access the hamburger menu, locate it in the top-left corner of the Elementor menu and select it.
- Select Choose Theme Styles from the drop-down menu below the Global Style section.
- Select Custom CSS from the drop-down menu in that section (the color will change to blue from its previous genetic red color).
After that, paste in the CSS code below.
header.sticky-header {
    --header-height: 90px;
    --opacity: 0.90;
    --shrink-me: 0.80;
    --sticky-background-color: #0e41e5;
    --transition: .3s ease-in-out;

    transition: background-color var(--transition),
                background-image var(--transition),
                backdrop-filter var(--transition),
                opacity var(--transition);
}
header.sticky-header.elementor-sticky--effects {
    background-color: var(--sticky-background-color) !important;
    background-image: none !important;
    opacity: var(--opacity) !important;
    -webkit-backdrop-filter: blur(10px);
    backdrop-filter: blur(10px);
}
header.sticky-header > .elementor-container {
    transition: min-height var(--transition);
}
header.sticky-header.elementor-sticky--effects > .elementor-container {
    min-height: calc(var(--header-height) * var(--shrink-me))!important;
    height: calc(var(--header-height) * var(--shrink-me));
}
header.sticky-header .elementor-nav-menu .elementor-item {
    transition: padding var(--transition);
}
header.sticky-header.elementor-sticky--effects .elementor-nav-menu .elementor-item {
    padding-bottom: 10px!important;
    padding-top: 10px!important;
}
header.sticky-header > .elementor-container .logo img {
    transition: max-width var(--transition);
}
header.sticky-header.elementor-sticky--effects .logo img {
    max-width: calc(100% * var(--shrink-me));
}
Step 5: customize our CSS
The instructions listed above will guide you through the process of creating a decreasing sticky header in Elementor. If you want to know more specifics about how to personalize the header further, you may look at the CSS code provided below, which will allow you to be more creative with the header design. Depending on your needs, you may personalize the Elementor sticky header by changing numerous settings and making it more or less sticky. We recommend that you use a code editor to incorporate this CSS change directly into Elementor. You can utilize Visual Studio Code or Atom, which will assist you in putting the code together quickly and reaping the benefits. These editors are free to use and may be accessed from various systems, including Windows, Mac OS X, and Linux.
This section will demonstrate how you can adjust the effects of the Elementor shrinking header by using the CSS style sheet. If you only make one change to the custom property, it will be immediately changed to match the rest of the CSS code.
Customization options for the decreasing header are available in a total of five different ways. Not all the variables must be customized, but you do have the option of doing so if you choose to. As soon as you’ve decided which variables you’d like to modify, you can only modify those variables and leave the rest of the parameters unchanged.
Here are the five CSS variables, with the default values for each variable shown in red.
Sticky background color is #0e41e5 and the header height is 90px. Other styling options include: opacity of 0.90, shrink-me of 0.80, opacity of 0.90, and ease-in/ease-out transition of 300ms.
The custom properties are the elements that appear after the double dash “–” in our example code, and you can find them listed at the top of our sample code. All that is required is to adjust the value that appears after the colon and before the semi-colon in the sentence.
For example, if you want to increase the height of the header to 100px, here’s how it would look before and after changing the height:
Before, the header height was 90 pixels; after, the header height was 100 pixels.
Using Elementor, you can design a sticky header menu in several different ways. Not only can you construct a free Elementor sticky header, but you can also personalize the header by adding custom CSS to it. It is possible to get detailed directions on how to construct a decreasing sticky Elementor header using Elementor and tweak your CSS with this step-by-step guide.
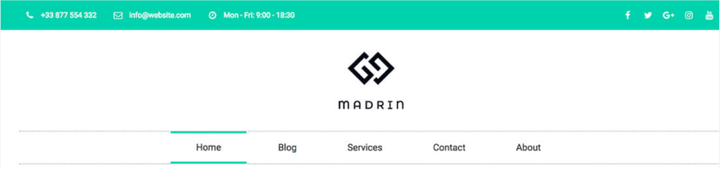
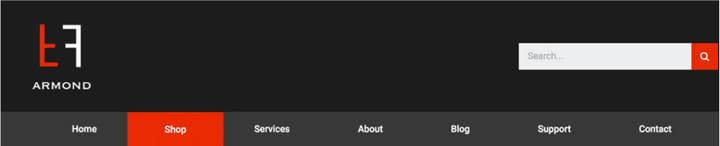
Elementor includes a variety of header templates; each is distinct and elegant and aids your viewers in navigating your website.
With Elementor, you have complete control over the style of your website headers. For example, you could place the site logo in the center of the page and the main menu below it. You can add a header above the main header to display the phone number, social media links, and other information.
Here are just a few examples of the numerous header design options available to Elementor users.

Conclusion
Including a sticky header on your website can make it easy for visitors to traverse your site and increase clicks to all areas of your site.
Elementor eliminates the need to manually generate sticky headers with Javascript and CSS, which was previously required. Creating a sticky header for your website has never been more straightforward than it is now, thanks to Elementor sticky headers.


Very nice article! Can you, please, help me with my sticky menu problem at one page website? Sticky menu covers my section which I defined as anchor link in menu.
Hi,
You need to add a top padding on your 1st section as the menu as changed the positioning to be sticky.
Sir! There is any way to add a mega menu on the sticky header?
Sure, why not? are you facing an issue?
Fiz um header usando o css, mas agora desisti dele, e não consigo acessar no elementor para desfazer, nem pelo elementor hearer.
Hi, I guess you can use either the right click or the section explorer